Steps to Assemble PCBs: Know the Methods, Tools, and Proven Strategies
Guide to PCB assembly methods (SMT/THT), essential tools, and best practices for reliable circuit board production.
Get Your PCB Quote!

Printed Circuit Boards also knowns as PCBs are one of the most important part of today’s modern electronics. Everything from phones to machines almost every device relies on PCBs for its operation. Behind every working electronic gadget is a precise intricate procedure known as PCB and assembly. For hobbyists, engineers and small-scale manufacturers, knowing how to put together PCBs correctly is vital–not just to guarantee performance but also to maximize effectiveness, cost and durability.
In this article we’ll discuss the primary methods employed for PCB construction, as well as the most important tools you’ll require, as well as the most effective practices to follow to achieve success.
Understanding PCB and PCBA: What’s the Difference?
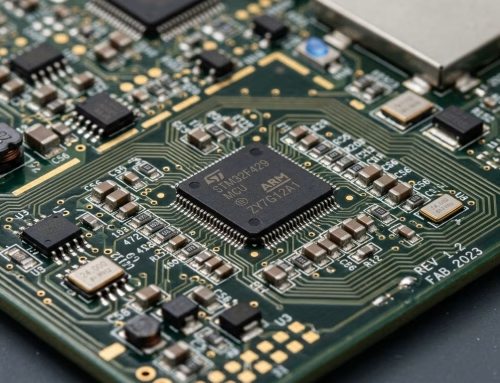
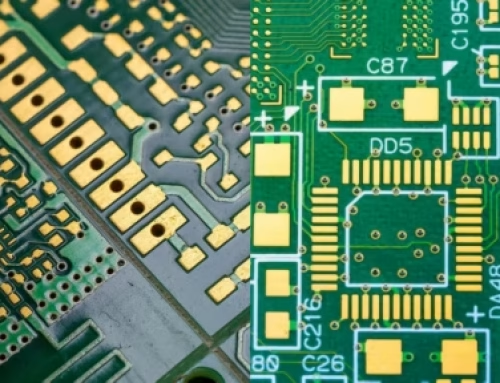
Before getting into the procedure it’s important to know the difference between the Printed Circuit Board PCBA and an unadorned PCB. PCB is the board itself, unpopulated and flat generally made of copper and fiberglass. It is a Printed Circuit Board PCBA (Printed Circuit Board Assembly) On contrary, comes with all the components soldered on to allow the board to function. It’s a fully-built version that is ready to be integrated into an item.
Step-by-Step: How to Assemble PCBs
1.Begin by defining Design and Component Sourcing
All of it starts with a PCB design typically created with software such as Eagle, KiCAD, or Altium. The design defines the board’s layout, copper trace, and the location where each component is going to be. In this document, it is possible to can create Gerber files as well as a Bill of Materials (BOM)–documents that provide the necessary information for assembly.
The source of components is equally crucial. Make sure to purchase components from reliable suppliers to guarantee compatibility and security.
2.Choose the Right Assembly Method
There are two primary methods to make PCBs:
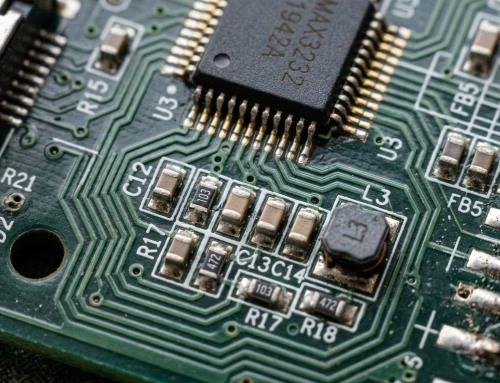
Surface Mount Technology (SMT): It is the most popular method, in which components are glued directly to the top of the boards. This is a perfect option for smaller, high-density designs.
Through-Hole Technology (THT): It is a type of component that installed into pre-drilled holes while the connection process started. This technique is utilized for large components or in high-stress applications in which durability is crucial.
Tools Required for PCB and Assembly
The size of your undertaking, the tools vary from basic to industrial. Let’s dive deep into the essentials:
- Reflow Oven and Soldering: For SMT, a reflow oven offers uniform heating.If you want to DIY and THT projects, using a soldering tool is enough
- Solder Paste and Stencils:They are used to apply solder on SMT pads prior to the placement of components.
- The Pick and Place tool: Automatically places of small components.Manual tweezers can be used in smaller batches.
Assembly Process: Hands-On Approach
1.Apply Solder Paste
Utilize a stencil solder paste on the circuit board pads to place main components. Solder paste is a mix made of small solder particles as well as flux. It holds components temporarily in place, and then melts when reflowing to form solid joints.
2.Place Components
Make use of tweezers, or a pick-and place machine to place parts on the boards. For SMT components, precision is crucial. The surface tension created by the solder melting will pull the parts to align, but they must be roughly aligned before beginning.
3.Reflow Soldering
It is warmed up in the reflow oven (or using a hot air gun for smaller jobs) which causes melting of the solder paste, and then secure the components. This process must be done according to an exact thermal profile in order to ensure that the components are not damaged.
4.Hand Soldering (for THT or touch-ups)
For components that have through holes or places that aren’t suitable for refflow, make use of a soldering iron. Connect the soldering wire to the joint, and make sure it is smooth and shiny connections.
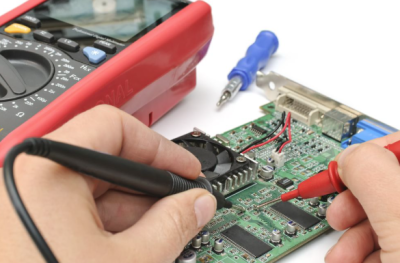
5.Inspection and Testing
After soldering, check the board either visually or with magnification. Look for solder bridges, cool joints or any other defective components. Pay attention on short circuits and check all the signals are under control while testing electrical signals on boards.
Proven Strategies for Getting Reliability
Follow these proven practices to get the unbeatable and reliable result while building a board.
- Cleanliness is Important: Clean your board prior to and following assembly.Remaining flux particles can lead to problems with signal integrity or corrosion as time passes.
- Temperature control: Try to avoid excessively heating components.Follow the recommended reflow profiles and don’t leave an iron that is soldering on the pad to stay for any length of.
- Label your parts clearly: In particular, when assembling by hand, mislabeled or mislabeled parts are the most common cause of failure.
- Ensure using the correct ESD Protection: The static electricity that is generated can cause damage to delicate chips.Use anti-static wristbands and mats.
When to Outsource PCB Assembly
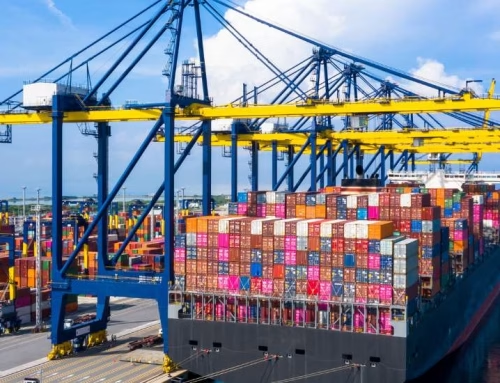
If you’re involved in a large-scale production or complicated board outsourcing your PCB and assembly work to an experienced will save you time and increase the quality. Assembly companies have sophisticated tools for inspection, automated equipment and skilled technicians who manage every aspect of the process from printing stencils to the final testing.
However, even if you outsource understanding how the process works will give you greater control over your design choices and the communication between you and the outsourcing company.
Conclusion
The art of assembling PCBs can be a satisfying and beneficial skill in the field of electronics. From the initial design stage until the assembly phases it requires focus on detail as well as the proper tools and a little patience. No matter if you’re a hobbyist who likes to DIY or a small-scale business working on a new product following these steps will ensure that you have a PCBA works well and effectively.
Make sure you follow the best practices and you’ll be able to create better boards, but you’ll also gain a deeper understanding into how your devices operate from the inside out.

Get Your PCB Quote!